The solution to this problem is simple. You should be keeping constant backups using Time Machine (or even better, relying on offsite backups as well). But this only solves part of the problem. If you are forced to wipe your entire Mac hard-drive, what’s the easiest way to get a hold of a fresh copy of MacOS and do a clean install? The answer is to make a bootable installer on a USB stick, and it really isn’t difficult in the slightest, as I will now show you. Then you can have it sitting by the computer standing by, just in case.
Bootable MacOS Installer Recipe
Ingredients
1 USB stick, with minimum 8GB space (blank) MacOS Installation File (Currently Sierra) Disk Creator Time & patience
Step 1 – Get a Blank USB Stick
Make sure you have a blank USB stick, and that it has a minimum of 8GB space. For the purposes of speed, you should also get a proper USB 3.0 stick, and not use some crappy little 2.0 stick that will crawl along at a snail’s pace. Also, transfer any existing critical files off the stick, because when Sierra jumps on there, everything else is going to get nuked. It’s a bit anti-social like that.
Step 2 – Get The MacOS Operating System
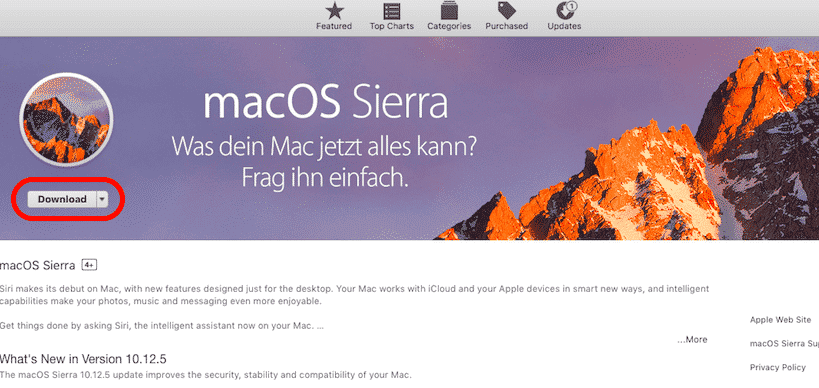
Download the MacOS installation file. This should open up your Mac App Store, but if not, click on “View In Mac App Store” to give the Mac store a nudge. Now click “Download” to start the Sierra installation. I was redirected to the German page since that’s where I am, but you will be redirected to the page of your own country.
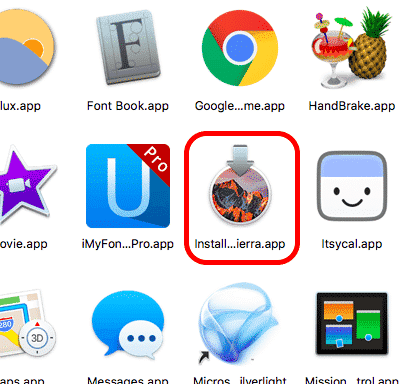
At this point, you need to be aware of two things. First, your Mac will get itself a bit worked up, because you are already running Sierra (hopefully). You will therefore get a box where you have to confirm you want the file. It is basically asking you “what the hell do you need the Sierra installation file for again?”. To confirm you still want the file, click “continue” and the download will start. Second, it took me 45 minutes to get the whole file, and I am on a fast Internet connection. The size of the installation file is 5GB in total. So it’s probably best to start this, and then go off and do something else. When the file has finished downloading, you will find it in your Applications folder under the name “Install MacOS Sierra.app“.
I should also point out that as soon as the installation file has finished downloading, it will immediately open up and attempt to start the installation process on your computer. Simply close the window. But it is a bit persistent and may try again.
Step 3 – Insert Your USB Stick Into The Computer
Pretty self-explanatory!
Step 4 – Download & Install Disk Creator
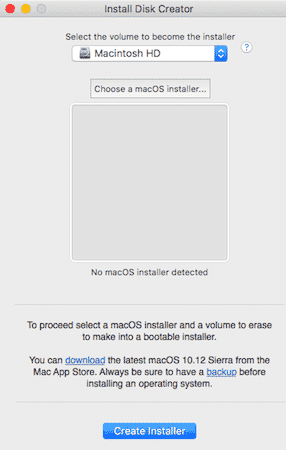
The next step is to download and install Disk Creator. Then open it up and you will see this :
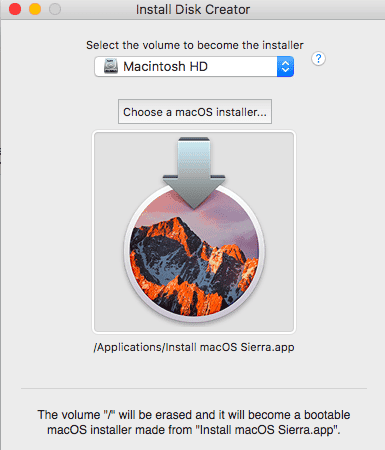
Choose the USB stick (using the drop-down menu at the top), then click “Choose a MacOS Installer“. Navigate to where the OS installation file is, and choose it. The icon of the file will then appear in the window at the top.
It will ask you if you are sure you want to proceed with the wiping of the USB stick and the installation of the installer. Then you have to enter your MacOS password for the process to begin. Now sit back and wait. It will take some time.
One Drawback Of Creating a USB Installer
There are many advantages of a USB installer, including the ease of installing a fresh new system onto a Mac without any jiggery-pokery with the Terminal. But one drawback is that Apple brings out so many regular OS updates that your installer is soon going to be out-of-date, if you don’t need to use it for quite some time. Of course this is easily solved by installing the OS version you have, then going to the Mac store and installing all of the updates. But that could be quite a few, depending on how old your USB installer is.
Using The Installer
To begin the installation process using the USB stick, put it into the Mac’s USB port. Then simply boot up your Mac, and as it is starting up, hold down the Option key. This will activate it, and just follow the on-screen instructions from Apple. See how easy it was? But if you do have a problem, let me know in the comments. I will do what I can to assist.


