It’s amusing that Facebook goes out of its way to stress on their Help pages that “verified badges are not for purchase“. Which makes you wonder how many shady people are offering to buy them.
The Two Kinds Of Verification Available For Facebook Accounts
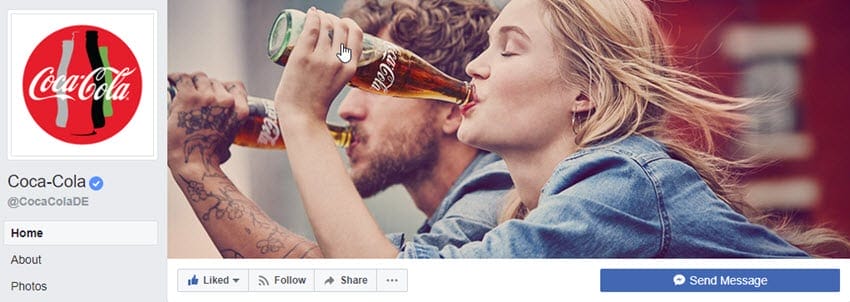
So Facebook has two different tick badges if they decide your account needs verified. A blue one and a grey one. Who gets which one? I’ll let Facebook explain (the bold lettering is mine). So in other words, blue badges seem to be reserved for public figures, media companies and brands. Grey badges go to businesses and organizations (presumably those not connected to the media in any way). The badges look the same as on Twitter. Here is the blue tick for the Coca-Cola page (they get the blue tick because they are considered a “brand” more than a company). You can also reapply, like Twitter, every 30 days if you are rejected.
Applying To Have Your Facebook Account Verified
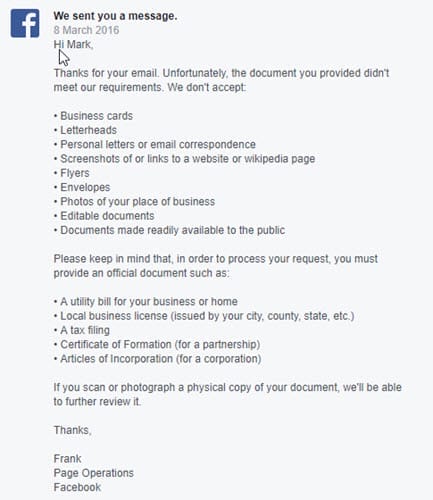
It’s worth pointing out that Facebook are stricter than Twitter when it comes to identity verification. When I last applied last year for a business I was running, they rejected me because they didn’t like my mobile phone bill. Facebook focused then on proof of address, but now they seem to prefer photo ID.
What made a lot of people nervous back then was the fact that you were asked to provide potentially sensitive documents. I mean, I would never hand over my tax returns to Facebook. They know enough about me already without knowing my tax bracket as well. On the upside, Facebook is apparently very quick with their decisions, with many decisions seemingly being made within 48 hours.
But Is That Blue Mark Strictly Necessary?
You might think that the blue verified check mark is nothing more than ego and vanity. It may be that to some people, but to people like me, it can mean a big difference if you are building a brand. A verified check mark proves you are who you say you are. This is good if you are an online business trying to get people to part with their money. Secondly, it is a trust symbol. It says “Facebook trusts me, so you should too“. For a brand, that is invaluable.
How To Prepare Your Page For Your Application
As with your Twitter profile, there are things you need to do to heighten your chances of being accepted.
Upload a professional-looking cover photo. Upload a professional-looking profile photo. Add a name which will match the name on the identification document you will send to Facebook. Plus the name also has to be a professional one which Facebook will not object to. There must be constant and recent fresh content posted on the account.
Prep Your Page With Extra Details
Go to the “Edit Page Info” link on your page. Choose a category that you consider yourself to be under.
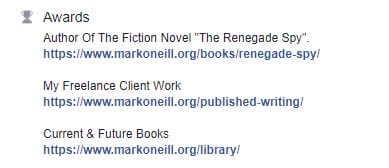
Then, under “Awards“, put in links to your work, links to articles you wrote or were mentioned in. Basically this is the part where you show Facebook the need to have yourself verified.
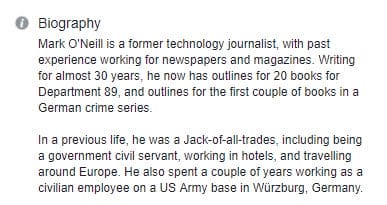
Under “Bio“, write your biography.
Complete The Form
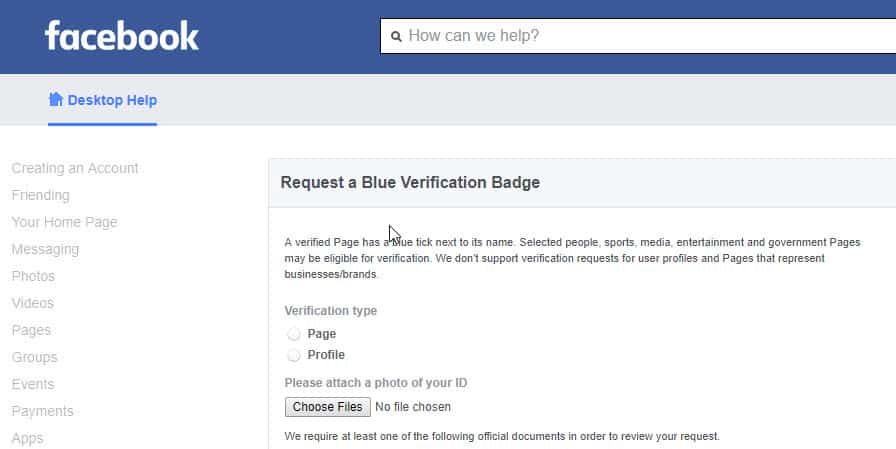
Now it’s time to complete the form. Fill out everything it asks and upload your photo ID. According to Facebook’s help pages, they need “official government-issued photo identification (example: passport, driver’s license, national identification card)”. One slightly confusing aspect is that it says they do not verify profiles, but it gives you the option of choosing a profile on the form.
Check Your Facebook “Support Inbox”
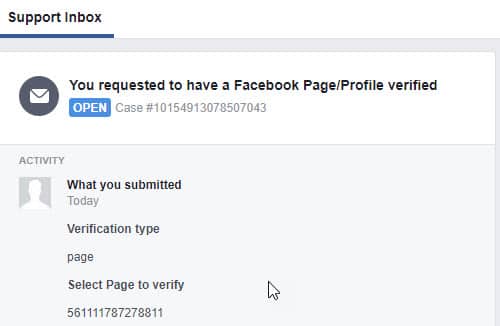
When you have sent the request, you will be redirected to your “Support Inbox“, where you will see confirmation that it has been sent. This is also where you will receive a response from Facebook with their decision.
Conclusion
Facebook has definitely simplified and smoothened their application process, which is obviously a good thing. But many people report that Facebook’s decisions on verification are totally erratic. Big established companies get denied while Joe Bloggs the DJ rapper gets his approved. It seems to be like a game of roulette. So if they turn you down, wait 30 days and try again.
