If you use Facebook or Twitter to sign into everything, those third-party permissions will soon stack up. This presents security challenges if those apps or sites become corrupted or fall into the wrong hands. You must jealously guard access to your social media accounts!
Revoke Third-Party App Access On Twitter
When you log into your Twitter account, go to Settings & Privacy.
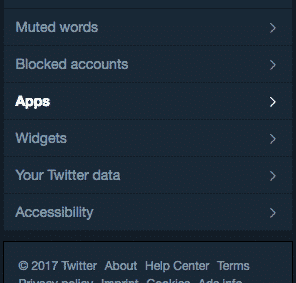
On the next screen, on the left hand side menu, choose Apps. Or click here.
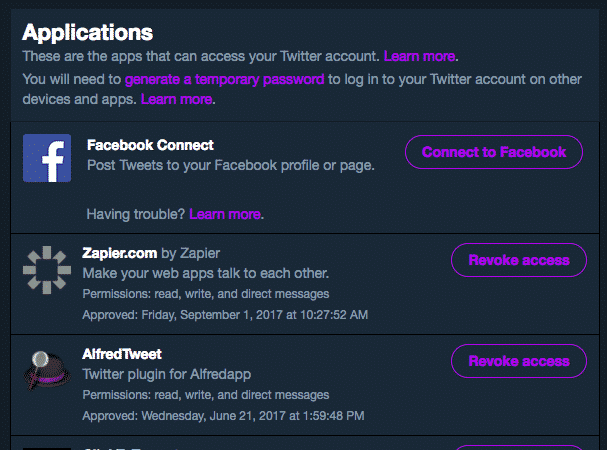
On the right hand side of the page, you will now see the apps and sites which you have authorised to use your Twitter account data. Go down the list, and if you are not using any of them anymore, click the “Revoke access” button.
Have you changed your mind or made a mistake? Well, when you click the “Revoke access” button, it changes to “Undo Revoke Access“. Simply clicking that button will put things back to the way they were before.
If you use Twitter on your iOS and MacOS devices, there is a different procedure for revoking access. You will see this on the Twitter website page. Instead of “Revoke access“, it will say “Learn how to revoke an iOS app“.
That link will take you to a Twitter help page but in essence, what you need to do is log out of the Twitter account on your iOS device. Then in the iOS settings, remove the Twitter account details. That will “revoke” the access and remove it from the Apps page above.
Revoke Third-Party App Access On Facebook
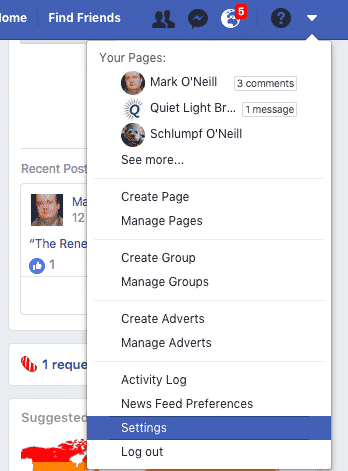
When you log into your Facebook account, click the little downwards arrow and select “Settings“. Or click here.
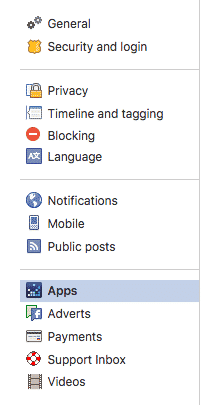
On the next page, choose “Apps” from the left-hand menu.
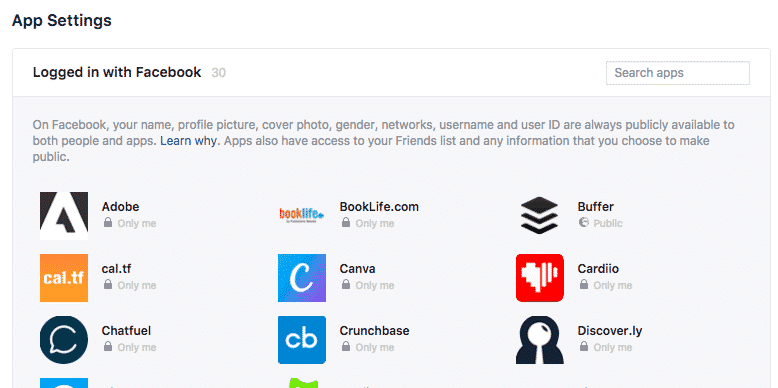
Now, on the right hand side, are all of the apps authorised to access your Facebook account. If you have lots, there will be a drop-down “Show More” menu link at the bottom of the list. Facebook is slightly better with third-party access in that it gives you more granular control over the app permissions, as I will soon demonstrate.
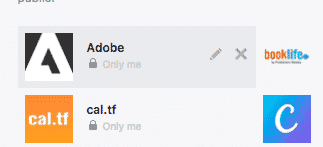
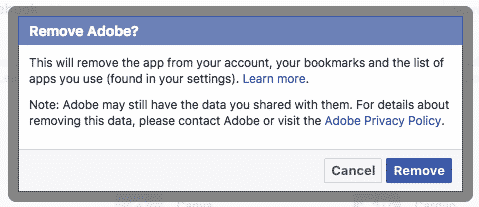
Take the first one, Adobe. Let’s assume I want to ditch that one. Mousing over it will reveal a pencil icon for editing it and a cross icon for deleting it.
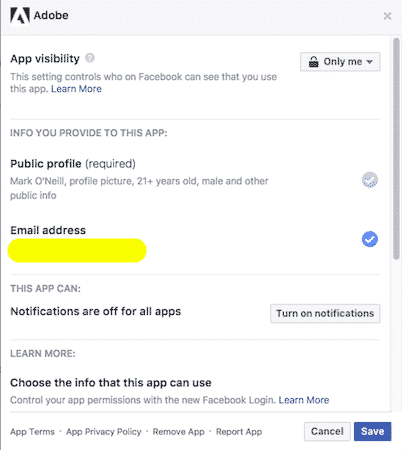
Let’s first take a look at the “edit” function. If you click the pencil icon, a window opens up, showing those granular controls that I talked about. Maybe you don’t want to necessarily delete the whole thing, but instead alter the permissions? This is where you would do it.
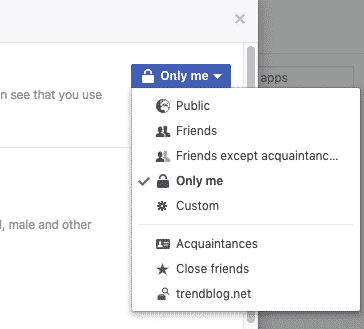
You can turn notifications on and off for the app. Under “App visibility”, you can also change who sees the status updates that the app or site may choose to post on your behalf.
If you just want to completely revoke the third-party access and remove it from your Facebook account, click the cross button. You will get an “are you sure” dialogue box. Click “Remove“.
With some, it will ask you if you want Facebook to remove all signs of timeline activity (such as status updates) made by that app or website. You can either choose to, or opt to keep it all. It’s entirely up to you. If you choose to delete that data, just tick the little box provided at the bottom.
Conclusion
As I said at the beginning, this is a good security practice. Once a week or once a month, go through your access permissions on social media and delete the ones you won’t be needing anymore. Right now, those apps and sites may be operated by honest ethical people. But tomorrow? Next week? Next year? If somebody dishonest takes over and you still have the door open to your social media account, let’s just say you would have a bit of a problem on your hands.

